
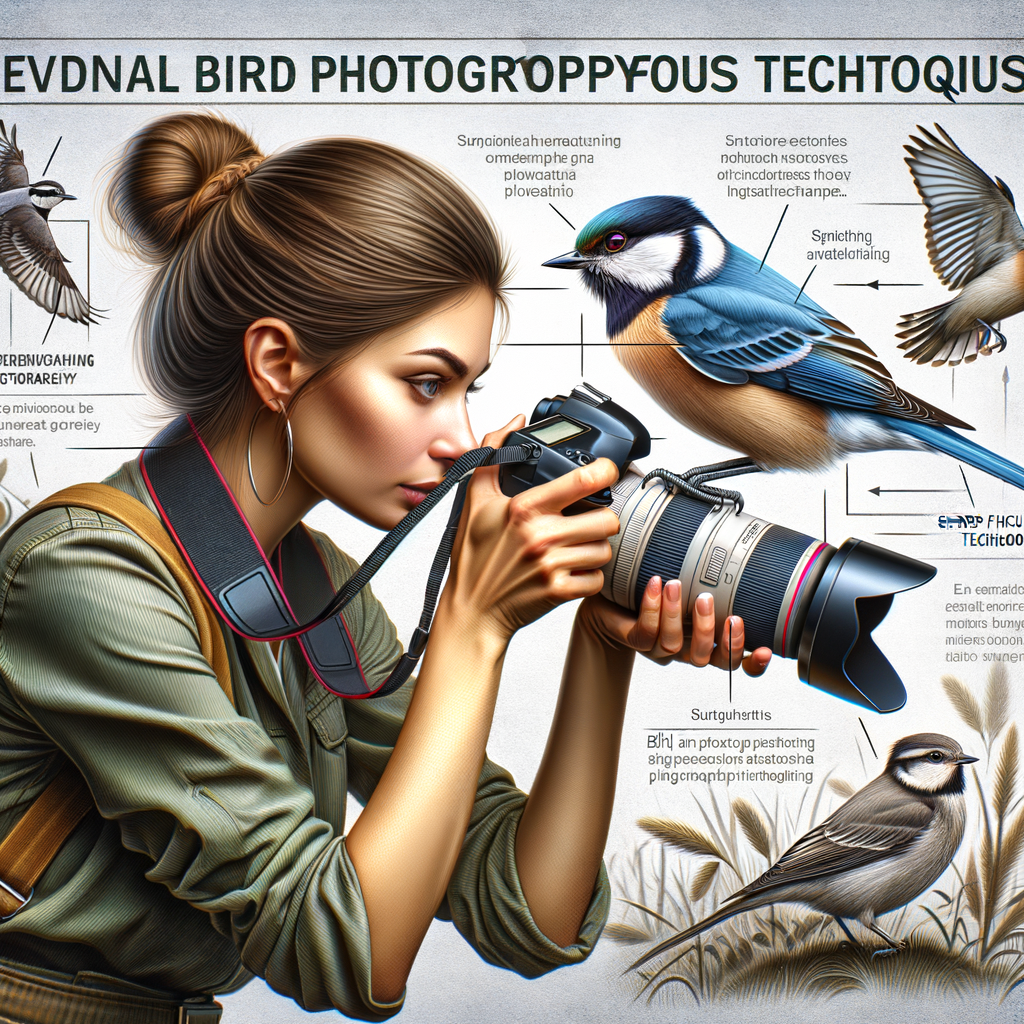
Introduction to Birdwatching Photography
Photography is a beautiful art, and birdwatching photography is one of its most captivating branches. This unique form of photography allows us to capture the beauty and diversity of our feathered friends in their natural habitats. In this section, we will delve into the basics of birdwatching photography and discuss why clear bird photography matters.
- Understanding the Basics of Birdwatching Photography
Before you can excel in birdwatching photography, it’s essential to understand its basics. Birdwatching photography is not just about pointing your camera at a bird and clicking the shutter. It requires patience, knowledge about birds, and understanding how to use your camera effectively.
Firstly, you need to know where to find birds. This could be in your backyard, a local park, or a nature reserve. Birds are most active during the early morning and late afternoon, so these are the best times to photograph them.
Next, you need to understand your camera settings. Knowing how to adjust your camera’s shutter speed, aperture, and ISO will help you take clear, well-exposed photos of birds in different lighting conditions.
Lastly, patience is key. Birds are unpredictable, and it can take time to get the perfect shot. But with patience and practice, you’ll be able to capture stunning photos of birds in their natural environments.
- Why Clear Bird Photography Matters
Clear bird photography is important for several reasons. Firstly, clear photos allow us to appreciate the intricate details and vibrant colors of different bird species. They reveal the beauty of birds that we might not notice with the naked eye.
Secondly, clear bird photos can contribute to science and conservation efforts. High-quality photos can help scientists identify and study bird species, track their migration patterns, and monitor their populations. They can also raise awareness about the importance of bird conservation and inspire people to take action to protect our feathered friends.
In conclusion, birdwatching photography is a rewarding hobby that combines the joys of birdwatching and photography. By understanding its basics and striving for clear bird photos, you can capture the beauty of birds and contribute to their conservation.
Birdwatching Photography Techniques
One of the most important aspects of birdwatching photography is mastering the art of sharp focus. This technique can transform your bird photos from ordinary to extraordinary.
Sharp Focus Photography
Sharp focus photography is a technique that emphasizes the clarity and detail of the bird in the image. It’s all about capturing the intricate details of the bird’s feathers, eyes, and beak with precision and clarity. Let’s delve into the importance of sharp focus in bird photography and some techniques to achieve it.
- Importance of sharp focus in bird photography
- Techniques for achieving sharp focus
- Use a tripod: A tripod can help to stabilize your camera, reducing camera shake and helping you to achieve a sharper focus.
- Focus on the eyes: The eyes are often the most expressive part of a bird. By focusing on the eyes, you can capture the bird’s personality and create a strong connection with the viewer.
- Use a fast shutter speed: Birds are often in motion, so using a fast shutter speed can help to freeze the action and capture a sharp image.
- Use manual focus: While autofocus can be helpful, it may not always focus on the right part of the bird. Using manual focus gives you more control and can help you to achieve a sharper focus.
Sharp focus is essential in bird photography for several reasons. Firstly, it brings out the intricate details of the bird, making the image more appealing and professional. Secondly, it helps to separate the bird from the background, making it the main point of interest. Lastly, a sharp focus can help to capture the bird’s personality and behavior, adding a storytelling element to your photos.
There are several techniques you can use to achieve sharp focus in your bird photos. Here are a few:
In conclusion, sharp focus is a crucial technique in birdwatching photography. By understanding its importance and mastering the techniques to achieve it, you can take your bird photos to the next level.
Wildlife Photography Tips
- Understanding your subject
- Mastering the art of patience
- Using the right equipment
One of the most important tips for wildlife photography is understanding your subject. This means learning about the bird species you are photographing. What is their behavior? What is their preferred habitat? When are they most active? The more you know about your subject, the better you can anticipate their actions and capture stunning photos. For example, if you know that a certain bird species is most active at dawn, you can plan your photography session accordingly.
Wildlife photography requires a lot of patience. Birds may not always behave as you expect, and you may need to wait for hours to get the perfect shot. But the wait is often worth it. Patience allows you to observe the birds in their natural habitat and capture unique moments that others might miss. Remember, “The early bird catches the worm, but the patient photographer catches the bird.”
Having the right equipment is crucial in wildlife photography. A good camera and lens are essential, but don’t forget about other equipment like tripods, camera bags, and cleaning kits. Here’s a simple table to help you understand what equipment you might need:
| Equipment | Use |
|---|---|
| Camera | Captures the image |
| Lens | Helps to zoom in on distant birds |
| Tripod | Stabilizes the camera for sharp images |
| Camera Bag | Protects and organizes your equipment |
| Cleaning Kit | Keeps your lens clean for clear images |
Remember, the best equipment is the one you know how to use. So, familiarize yourself with your gear before heading out to photograph birds.
Birdwatching Camera Settings
When it comes to birdwatching photography, understanding and adjusting your camera settings can make a significant difference in the quality of your photos. Let’s delve into the details.
Understanding Camera Settings
Before we jump into the specifics, it’s crucial to understand why knowing your camera settings is essential.
- Importance of understanding your camera settings
- Key camera settings for bird photography
- Shutter Speed: A fast shutter speed is essential to freeze the motion of birds in flight.
- Aperture: Adjusting the aperture allows you to control the depth of field, which can help to isolate your bird subject against a blurred background.
- ISO: Adjusting the ISO can help you to capture clear images in low light conditions.
Understanding your camera settings is like knowing the language of your camera. It allows you to tell your camera exactly what you want it to do. This knowledge is particularly important in birdwatching photography, where you often need to capture fast-moving subjects in varying light conditions. By mastering your camera settings, you can ensure sharp, well-exposed photos every time.
There are several key camera settings that are particularly important for bird photography:
By understanding and adjusting these settings, you can take control of your camera and capture stunning bird photos that truly stand out.
Adjusting Camera Settings for Birdwatching
Mastering the art of birdwatching photography requires a good understanding of your camera settings. Let’s delve into the specifics of how to adjust your shutter speed, aperture, and ISO to capture stunning bird photos.
- How to adjust shutter speed
- Turn your camera’s mode dial to ‘S’ or ‘Tv’.
- Use the main dial to select a fast shutter speed. For bird photography, start with 1/1000th of a second.
- Take a test shot and review. If the photo is too dark, decrease the shutter speed. If it’s too blurry, increase the shutter speed.
- How to adjust aperture
- Turn your camera’s mode dial to ‘A’ or ‘Av’.
- Use the main dial to select a wide aperture (small f-number) for a blurred background, or a narrow aperture (large f-number) for a sharp background.
- Take a test shot and review. If the photo is too dark, decrease the f-number. If it’s too bright, increase the f-number.
- How to adjust ISO
- Press the ‘ISO’ button on your camera.
- Use the main dial to select a lower ISO for bright conditions, or a higher ISO for dark conditions.
- Take a test shot and review. If the photo is too dark, increase the ISO. If it’s too grainy, decrease the ISO.
The shutter speed controls how long your camera’s sensor is exposed to light. It’s measured in fractions of a second. For birdwatching, you’ll want a fast shutter speed to freeze the bird’s motion in your shot. Here’s how to adjust it:
The aperture controls the amount of light that enters your camera. It also affects the depth of field, which is the range of distance in your photo that appears sharp. Here’s how to adjust it:
The ISO controls your camera’s sensitivity to light. A higher ISO allows you to shoot in low light conditions, but it can also introduce noise into your photos. Here’s how to adjust it:
Remember, these are just starting points. The best settings for birdwatching photography depend on the lighting conditions, the bird’s behavior, and your artistic vision. Don’t be afraid to experiment and learn from your mistakes. Happy birdwatching!
Bird Photography Focus Techniques
One of the most important aspects of bird photography is achieving sharp focus. This can be challenging due to the fast and unpredictable movements of birds. There are two main methods of focusing in bird photography: manual focus and auto focus. Let’s explore each of these techniques in detail.
Manual Focus vs Auto Focus
Both manual focus and auto focus have their own advantages and disadvantages. The choice between the two often depends on the specific situation and the photographer’s personal preference.
- Pros and cons of manual focus
- Pros and cons of auto focus
Manual focus gives you complete control over the focus of your image. This can be particularly useful when photographing birds in complex environments where the camera’s autofocus might get confused. However, manual focus requires a lot of practice and a steady hand. It can be challenging to keep a fast-moving bird in focus manually.
Auto focus is quick and convenient, making it a great option for capturing birds in flight. Most modern cameras have sophisticated autofocus systems that can track moving subjects effectively. However, autofocus can sometimes struggle in low light conditions or when the bird is not clearly separated from the background.
In conclusion, both manual focus and auto focus have their place in bird photography. It’s a good idea to practice both techniques and understand when to use each one. Remember, the ultimate goal is to capture clear, sharp images of birds, regardless of the focus method used.
Techniques for Achieving Clear Bird Photos
Getting a clear shot of a bird in its natural habitat can be a challenge. However, with the right techniques, you can capture stunning, sharp images. Here are three essential techniques that can help you achieve clear bird photos:
- Using a Tripod
A tripod is a three-legged stand used to hold a camera steady. It’s one of the best tools for getting clear bird photos. When you’re holding a camera in your hands, even the slightest movement can cause your photo to blur. But with a tripod, your camera stays perfectly still, allowing you to capture sharp, clear images.
- Using a Remote Shutter Release
A remote shutter release is a device that allows you to take a photo without touching your camera. This means you can avoid any camera shake caused by pressing the shutter button, resulting in clearer photos. It’s especially useful when you’re using a tripod. You can set up your shot, then use the remote shutter release to take the photo without disturbing the camera.
- Using Image Stabilization
Image stabilization is a feature found in many cameras and lenses that helps reduce blur caused by camera shake. It works by moving parts of the lens or sensor to counteract any movement of the camera. This can be particularly useful when photographing birds, as it allows you to take clear photos even if your hands are shaking or if you’re shooting from a moving platform.
By using these techniques, you can greatly improve the clarity of your bird photos. Remember, practice makes perfect. So, don’t be discouraged if your first few shots aren’t as clear as you’d like. Keep trying, and you’ll soon be capturing stunning bird photos with ease.
Birdwatching Photography Guide
Mastering the art of birdwatching photography requires a blend of passion, patience, and preparation. This guide will provide you with essential tips to prepare for your birdwatching photography adventure.
Preparation for Birdwatching Photography
Before you set out with your camera, there are two crucial steps you need to take: scouting locations and understanding bird behavior. Let’s delve into these aspects.
- Scouting Locations
- Understanding Bird Behavior
Finding the right location is the first step towards successful birdwatching photography. Research parks, nature reserves, and bird sanctuaries in your area. Look for places with diverse bird species. You can also seek advice from local birdwatchers or join birdwatching groups to gain insights about the best locations.
Understanding bird behavior is as important as finding the right location. Study the birds you plan to photograph. Learn about their feeding habits, mating rituals, and migration patterns. This knowledge will help you anticipate their actions, allowing you to capture stunning images. For instance, knowing when a bird is about to take flight can help you get a perfect shot of its wings spread wide.
In conclusion, preparation is key in birdwatching photography. By scouting the right locations and understanding bird behavior, you can significantly increase your chances of capturing breathtaking bird images. Remember, patience and persistence are your best allies in this journey.
During the Shoot
When you’re out in the field, camera in hand, there are several key factors to consider to ensure you capture the best birdwatching photographs possible. Let’s delve into these crucial aspects.
- Patience and Timing
- Composition Techniques
- Dealing with Changing Light Conditions
Patience is a virtue, especially in birdwatching photography. Birds are unpredictable creatures, and capturing the perfect shot often requires waiting for the right moment. Timing is everything. For instance, birds are typically more active during the early morning and late afternoon, making these ideal times for photography.
Composition is a fundamental aspect of any form of photography, and birdwatching is no exception. There are several techniques you can use to enhance your photos. The rule of thirds, for example, involves dividing your frame into a 3×3 grid and positioning the bird along these lines or at their intersections. This technique can help create more balanced and engaging photos.
Lighting can make or break a photograph. As a birdwatching photographer, you’ll often find yourself dealing with changing light conditions. Whether it’s the bright midday sun, the soft light of dawn, or the golden hues of sunset, it’s important to understand how to work with different lighting situations. For example, shooting with the light behind you can help illuminate the bird and bring out its colors, while shooting against the light can create dramatic silhouettes.
| Key Aspect | Explanation |
|---|---|
| Patience and Timing | Waiting for the right moment to capture the perfect shot. Birds are typically more active during the early morning and late afternoon. |
| Composition Techniques | Using techniques like the rule of thirds to create balanced and engaging photos. |
| Dealing with Changing Light Conditions | Understanding how to work with different lighting situations to enhance the quality of your photos. |
Bird Photography Sharp Focus Tips
Getting a sharp focus is crucial in bird photography. It can make the difference between a good shot and a great one. Here are some advanced techniques that can help you achieve a sharp focus.
Advanced Focus Techniques
Mastering focus in bird photography requires practice and understanding of some advanced techniques. Let’s delve into two of these techniques: Back button focus and Focus stacking.
- Back Button Focus:
- Focus Stacking:
Back button focus is a technique where you assign the autofocus function to a button at the back of your camera, instead of the shutter button. This gives you more control over when your camera focuses. It’s particularly useful in bird photography where your subject is often moving. With back button focus, you can lock focus on the bird and recompose the shot without the camera refocusing when you press the shutter button.
Focus stacking is a technique used to increase the depth of field in your photos. It involves taking multiple photos of the same scene with different focus points, and then combining them in post-processing to create a single image with a greater depth of field. This technique is especially useful in bird photography when you want to have both the bird and the background in focus.
Remember, achieving a sharp focus in bird photography is not just about knowing the right techniques, but also about practicing them until they become second nature. So, grab your camera and start practicing these advanced focus techniques today!
Post-Processing for Sharp Images
After taking your birdwatching photos, there’s still more you can do to make your images even sharper. This is where post-processing comes in. It’s like the icing on the cake, the final touch that can take your photos from good to great. Let’s dive into the world of post-processing for sharp images.
- Using software to enhance sharpness
- Understanding the limits of post-processing
There are many software options available that can help you enhance the sharpness of your images. Programs like Adobe Lightroom and Photoshop are popular choices among photographers. These software tools have features that allow you to adjust the sharpness, clarity, and detail of your images. For example, in Lightroom, you can use the ‘Detail’ panel to adjust the ‘Sharpening’ and ‘Noise Reduction’ sliders. This can help to make the details in your bird photos pop.
Remember, it’s important to not overdo it. Too much sharpness can make your photo look unnatural. It’s all about finding the right balance.
While post-processing software can do a lot, it’s important to understand its limits. No amount of editing can fix a photo that’s out of focus or blurry. That’s why it’s crucial to get the focus right when you’re taking the photo. Post-processing is a tool to enhance your photos, not fix them.
Also, excessive editing can degrade the quality of your image. So, it’s best to make small, subtle adjustments. Remember, the goal is to enhance the natural beauty of the birds, not create an artificial-looking image.
In conclusion, post-processing is a powerful tool that can help you enhance the sharpness of your birdwatching photos. But like any tool, it’s important to use it wisely. With practice and patience, you can master the art of post-processing and take your birdwatching photography to the next level.
Conclusion: Capturing the Perfect Birdwatching Shot
As we wrap up our comprehensive guide on birdwatching photography, it’s important to remember that capturing the perfect birdwatching shot is a blend of knowledge, technique, and continuous practice. Let’s take a moment to recap the key points we’ve discussed and encourage you to keep learning and practicing.
- Recap of birdwatching photography tips:
- Encouragement for continuous learning and practice:
We’ve covered a wide range of tips to help you enhance your birdwatching photography skills. We discussed the importance of understanding bird behavior and habitats, choosing the right camera settings, and using various focus techniques to capture sharp, clear images. We also shared tips on how to use light effectively and how to compose your shots for maximum impact. Remember, the best birdwatching photos are often the result of patience, observation, and a deep respect for nature.
As with any art form, birdwatching photography requires continuous learning and practice. Don’t be discouraged if your initial shots don’t turn out as you’d hoped. Each attempt is a learning opportunity. Keep experimenting with different techniques and settings, and don’t forget to review your photos critically to understand what works and what doesn’t. As the famous photographer Henri Cartier-Bresson once said, “Your first 10,000 photographs are your worst.” So, keep shooting, keep learning, and keep enjoying the wonderful world of birdwatching photography.
In conclusion, capturing the perfect birdwatching shot is a journey of discovery, filled with endless opportunities to learn and grow as a photographer. We hope that this guide has provided you with valuable insights and practical tips to help you on your journey. Happy birdwatching!


